
There are some memories you never want to forget, like your wedding. The way your partner looked at you as you walked down the aisle, the dreamy scenery of your wedding venue, and the sweet blessings from your friends and family are all precious moments. Your wedding bouquet was by your side through many of these moments. Keep your memories close by preserving your bridal bouquet using one or more of these eight methods:
Method 1 — Pressed
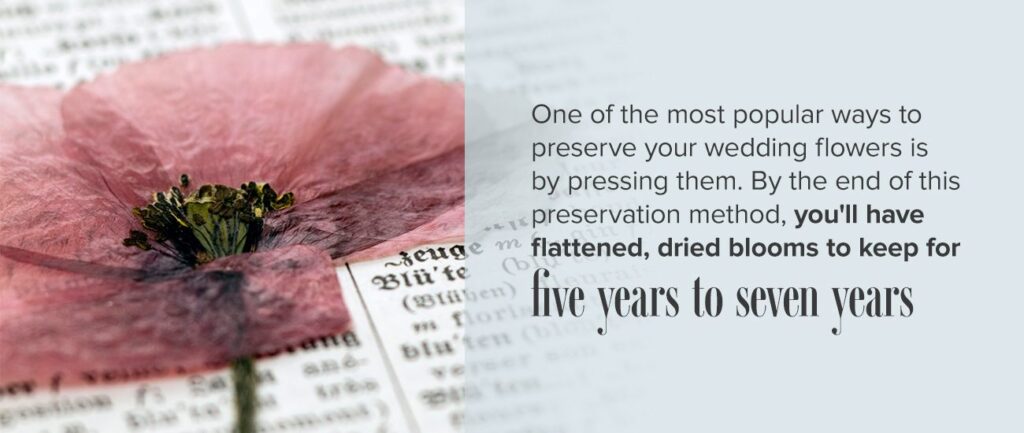
One of the most popular ways to preserve your wedding flowers is by pressing them. The pressing process is fairly straightforward and requires materials you likely already have.
Pressing your flowers flattens the three-dimensional blooms, allowing you to save and reuse your wedding bouquet in ways you couldn't otherwise. The flowers take around one week to two weeks to flatten. As they flatten, the moisture escapes from the blooms and dries. By the end of this preservation method, you'll have flattened, dried blooms to keep for five years to seven years.
How to Press Your Wedding Flowers
To press your wedding flowers, you will need:
- Parchment paper
- A large book
- Something heavy, like another book or a brick
- Your wedding bouquet
- A pair of tweezers
In addition to these materials, you'll want a safe place to store your flowers as they dry, and about one week to two weeks of time. Gather your materials and press your flowers with the following steps:
- Carefully take apart your wedding bouquet. Wedding bouquets are too thick to press whole, so it's best to flatten each flower separately and arrange them after pressing.
- Cut the flower stems at an angle and remove any low leaves. If you want to press thicker blooms, like hydrangeas or dahlias, split them by cutting them in half down the middle using scissors. Cut them just short of the stem so the remaining half of the bloom stays intact.
- Open your large book to the middle pages.
- Place a piece of parchment paper on one of the open pages.
- Arrange your flowers on the parchment paper. Make sure no flowers are touching, or else their blooms will attach.
- Place another sheet of parchment paper over the blooms, sandwiching the flowers between the two parchment paper sheets.
- Carefully close your book.
- Place the book somewhere safe, like on a bookshelf.
- Put a heavy object on top of your book. This presses the pages together, putting more pressure on your blooms.
- Let your blooms press from one week to two weeks.
- After waiting, take off the heavy object and open your book.
- Carefully remove the top sheet of parchment paper.
Your blooms should look dried, flattened, and a bit smaller than they did when fresh. Use your tweezers to gently remove the pressed wedding flowers from the remaining parchment sheet. Put them to the side for future use, like for scrapbooking or fragrancing.
Method 2 — Microwave Pressed
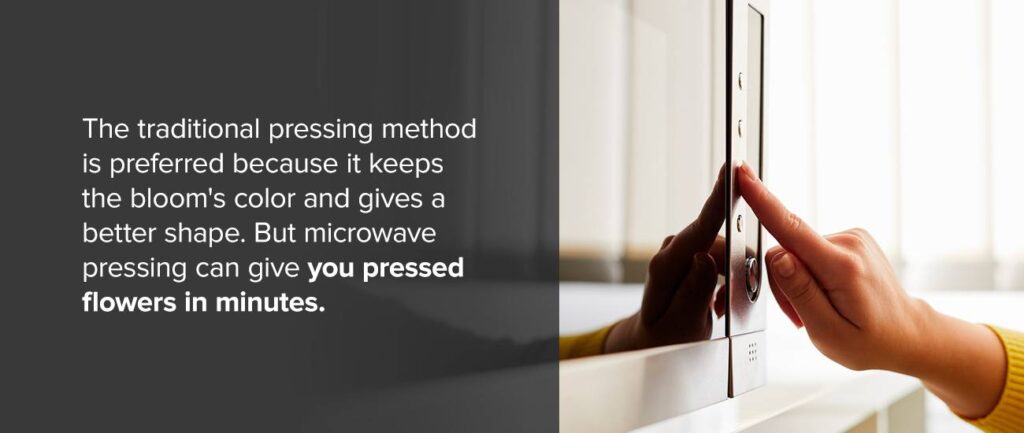
If you don't have time to press your flowers the traditional way, a quick alternative is using your microwave. The traditional pressing method is preferred because it keeps the bloom's color and gives a better shape. But microwave pressing can give you pressed flowers in minutes.
Not all flowers should be microwave pressed. Certain blooms, like sunflowers, can't withstand the heat well and tend to shrivel. Also, light-colored blooms can discolor, turning a taupe or burnt color. Buy flowers from your local grocery store or cut some from your yard to test before using your valuable wedding flowers.
How to Press Your Flowers in the Microwave
To microwave press your wedding flowers, you will need:
- A microwave with a defrost setting
- Paper towels
- A microwave-safe weight, like a plate
- Your wedding bouquet
A microwave with a defrost setting is preferred because it will limit any possible heat damage. The traditional pressing method gradually dries the blooms, and the microwave speeds that drying process. However, you still want to replicate the gradual process as best as possible. You can microwave press your wedding flowers with these steps:
- Carefully take apart your wedding bouquet. Follow the first and second steps from the traditional pressing method to properly prepare your blooms.
- Place a paper towel on your counter.
- Arrange your blooms on the paper towel, making sure no blooms are touching.
- Place another paper towel on top of the blooms, sandwiching the flowers between both paper towels.
- Put the paper towels and blooms in the microwave. Make sure the paper towels fit within the microwave dish. If your microwave plate rotates, you want to prevent the paper towels from catching on the microwave's walls.
- Place the microwave-safe weight on top of the paper towels and blooms.
- Start your microwave on a defrost setting. Heat the blooms in 30-second increments.
- Check your flowers between each increment. Every flower takes a different amount of time to dry and press. Touch the bloom with your finger. When your flower feels dry to the touch, place it to the side for future use.
- Repeat step seven until all blooms are pressed and dried.
Microwave pressed flowers don't last as long as traditionally pressed flowers. They will likely last a few years, depending on how you use them.
Method 3 — Air-Dried
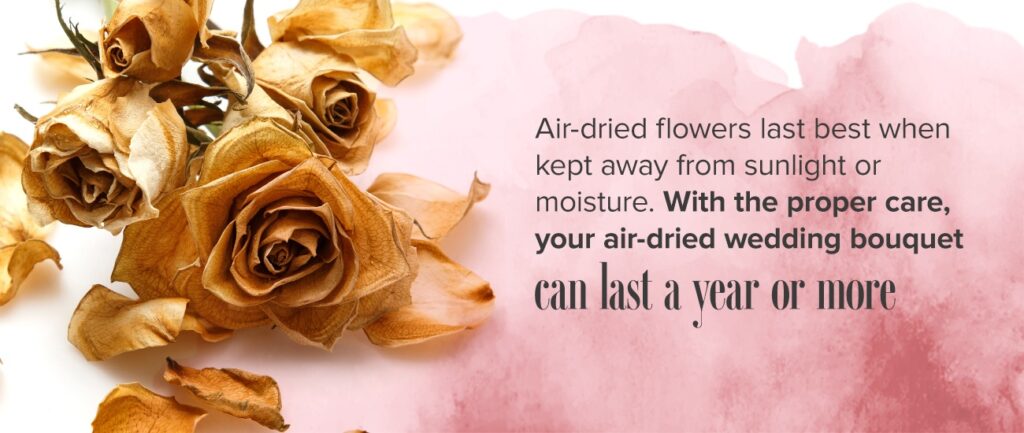
If you like the idea of dried wedding flowers but prefer a three-dimensional appearance, consider air-drying your wedding bouquet. This drying method allows you to preserve your bouquet's whole appearance. Air-dried flowers last best when kept away from sunlight or moisture. With the proper care, your air-dried wedding bouquet can last a year or more.
How to Air-Dry Your Wedding Bouquet
To air-dry your wedding bouquet, you will need:
- A clothes hanger
- Rubber bands
- String
- Your wedding bouquet
- A dry space away from sunlight, like a closet
Live plants require hours of direct sunlight. However, cut flowers lose their color vibrancy when exposed to too much sunlight. Blooms will naturally lose some of their vibrancy during the drying process, but sunlight exposure will strip away even more color. This is why it's best to dry flowers in a sunlight-free room, such as a closet or dry basement.
Air-dry your wedding bouquet following these steps:
- Carefully take apart your bouquet. If you dry your bouquet as a whole, you risk your flowers pressing together, resulting in flatter blooms. Keep your wedding bouquet ribbon somewhere safe for future use.
- Secure a rubber band around the bottom of each stem.
- Use a piece of string to attach each stem to your clothes hanger. Hang each stems far enough apart so they maintain their shape.
- Hang the hanger in your closet — or other dark, dry room — for at least a week.
Hanging your flowers upside down prevents gravity from weighing the blooms down during the drying process. If you've ever kept flowers in a vase for too long, you may have seen this happen. After your flowers have dried, reassemble your bouquet. Your florists may also be willing to help you reassemble your bouquet. Use your ribbon to gently hold your dried wedding bouquet together, and place it in a vase.
Method 4 — Glycerin
Glycerin is a colorless liquid derived from plant oils, like soybean or coconut oil. People commonly use glycerin in crafts, and it is especially popular in the cosmetic industry. Glycerin acts like a sponge, maintaining its moisture by absorbing surrounding moisture. These properties make glycerin perfect for flower preservation because it soaks up the flower's moisture but keeps it supple and durable.
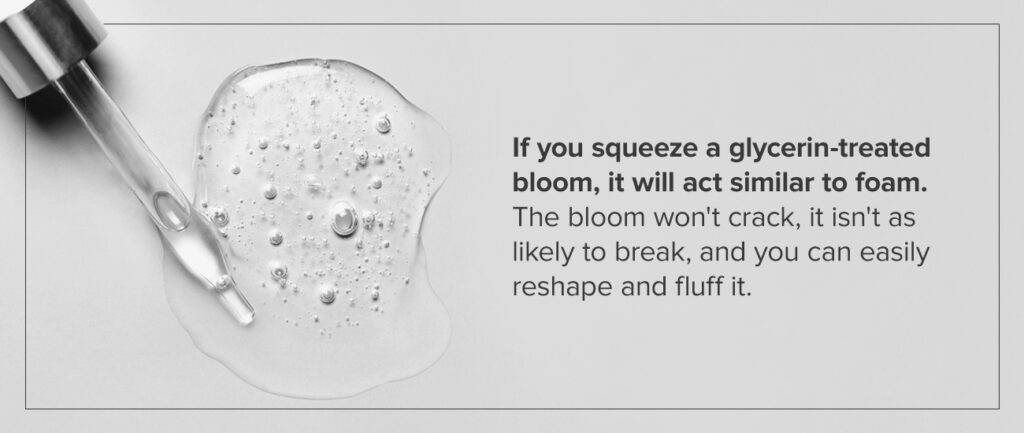
If you squeeze a fresh bloom, you'll hear the bloom crunch, but it will keep its shape for the most part. If you squeeze a glycerin-treated bloom, it will act similar to foam. The bloom won't crack, it isn't as likely to break, and you can easily reshape and fluff it. Use this wedding bouquet preservation technique if you want fresh-looking blooms that last six months to two years.
How to Preserve Wedding Flowers Using Glycerin
To preserve your wedding flowers using glycerin, you will need:
- Glycerin
- Water
- Scissors
- Mason jars or vases
- Your wedding bouquet
- A room away from sunlight, like a closet
You can likely find glycerin at your local craft store. Both tap water and distilled water work well for this process, and the amount needed will vary depending on how many flowers you are treating. The golden ratio is two parts water to one part glycerin.
Glycerin-treat your wedding flowers with these steps:
- Gently take apart your wedding bouquet. Group your flowers, and designate a mason jar or vase for each group.
- Heat up your water. The water should be hot, but not to the point of boiling. If your water is too hot, your flower will cook and discolor or welt.
- Add the glycerin to your mason jars or vases.
- While your water is heating, remove any bottom leaves from your flowers' stems. Cut the bottom of each stem at an angle, then cut vertically upwards approximately 1 inch to 2 inches. This allows for better glycerin and water absorption.
- Once your water is properly heated, pour it into the mason jars or vases. You want about 3 inches of liquid following a 2-to-1 water-glycerin ratio.
- Mix the water and glycerin.
- Put your flowers into the mason jars or vases. The flowers should be evenly divided and spaced so they can maintain their shape.
- Place your flower-filled mason jars or vases in a dimly lit room, away from direct sunlight. Doing so prevents bloom discoloration or fading.
- Let the plants absorb the glycerin mixture for two weeks to six weeks.
- After waiting, remove your flowers and hang them upside down to dry for one day to two days.
As your flowers absorb the glycerin, it replaces any existing moisture. Because of glycerin's moisturizing properties, the flower maintains its supple appearance. Your flowers will technically be dried but will keep a fresh appearance compared to other drying methods.
Method 5 — Wax
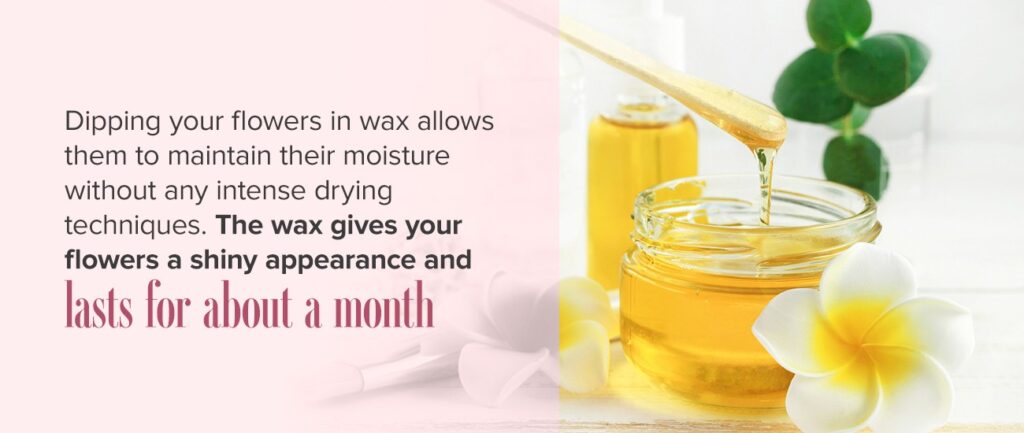
A popular short-term flower preservation method is wax. Dipping your flowers in wax allows them to maintain their moisture without any intense drying techniques. The wax gives your flowers a shiny appearance and lasts for about a month. For the best results, allow your flowers to soak in a glycerin mixture for about a week. Follow the same glycerin-treated steps outlined in the previous method.
How to Preserve Your Wedding Bouquet With Wax
To preserve your wedding flowers using wax, you will need:
- A drying rack
- Soy wax
- A vase large enough that you can dip your flower without disrupting any blooms and deep enough to cover the stem's length
- A wax-heating method, such as a microwave or stovetop
- Your wedding bouquet
You can find soy wax at your local craft store. Soy wax works best because it gives your flowers a shiny, flexible appearance. To melt your soy wax easily, buy it flaked. Flaked wax can melt in the microwave in a few minutes, while whole wax requires melting via stovetop, which takes much longer.
Achieving a perfectly waxed flower takes practice. Before using your wedding bouquet flowers, consider practicing with grocery store flowers. Perfectly dip your wedding flowers with the following steps:
- Take apart your wedding bouquet. Each flower requires individual dipping for the best results.
- Melt your soy wax. The temperature of your wax plays an important role in a perfectly dipped flower. Your blooms will cook if the wax is too hot, and chunks of wax will form on the blooms if the wax isn't hot enough. Test the temperature of your wax using a spare flower.
- Pour your soy wax into your vase.
- Choose your flower. Take off any leaves and petals you don't want to preserve because you can't remove any blooms post-dipping.
- Hold your flower by the stem so the bloom is facing down. Carefully dip and submerge the bloom into the wax.
- Keep the bloom submerged for a few seconds. Gently twist the stem to make sure the wax is evenly coating the bloom. Let any bubbles escape before removing the bloom.
- Remove the flower from the wax and let any extra wax drip off. If there is too much extra wax, it will form too thick of a layer and turn white.
- Place your flower on a drying rack and allow the wax to harden.
- Repeat steps four through seven for each flower.
- Once the wax on the blooms has dried, dip the remaining stems into the wax. Cover the entire flower with wax to prevent air from slowly killing the blooms.
After the remaining wax dries, your wax-preserved flowers are ready for use.
Method 6 — Silica Gel
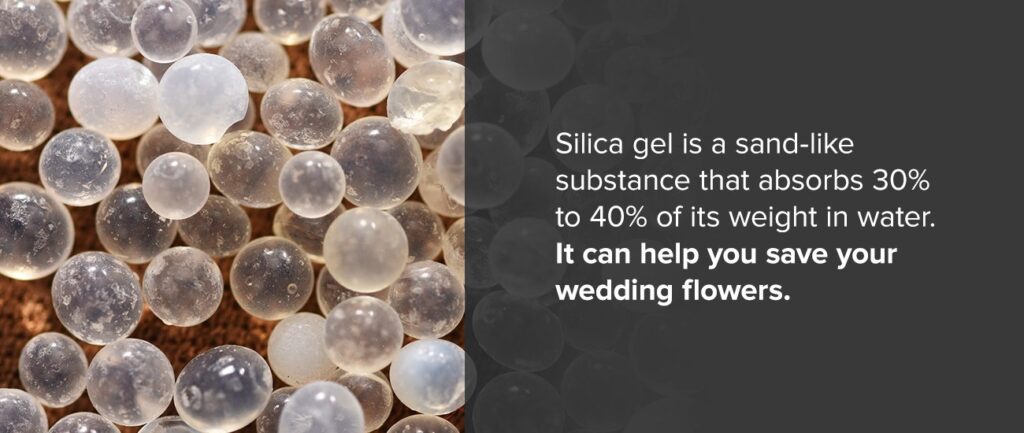
Silica gel isn't actually a gel. Rather, it's a sand-like substance that absorbs 30% to 40% of its weight in water. Food companies commonly use silica gel in their packaging to trap moisture and preserve their food products. It can also help you save your wedding flowers.
How to Preserve Your Wedding Bouquet in Silica Gel
To preserve your wedding bouquet using silica gel, you will need:
- A few pounds of silica gel
- A sealable container
- Your wedding bouquet
You want a container large enough to place all your flowers in it. The container should also have a sealable lid to keep any external moisture from affecting the drying process. Keep in mind that the larger your container, the more silica gel you will need.
Dry your wedding flowers using silica gel with these steps:
- Take apart your wedding bouquet. This process works best with upward-facing blooms, so you may have to cut off the stems depending on your container.
- Pour a few inches of silica gel into your empty container.
- Place your blooms on top of the base layer of silica gel, spreading them evenly around the container.
- Gradually pour more silica gel into the container. Avoid pouring directly on top of the blooms, or else it will weigh them down and make them dry flat. For larger flowers, use your hand to gently cover the bloom.
- Continue pouring until the flowers are fully submerged in the silica gel.
- Seal the lid on your container.
- Allow the flowers to sit in the silica gel for three days to six days. The larger the bloom, the more drying time required.
After your flowers have finished drying, remove the container's lid and carefully remove the flowers from the silica sand. The flowers should feel dry to the touch and still have their three-dimensional, full appearance.

Method 7 — Epoxy Resin
Epoxy resin is a casting technique that is growing in popularity. Epoxy resin encloses your live wedding flower in a clear mold. Your finished wedding flower craft depends on your mold. For example, you can make an epoxy resin coaster using a thin rectangular mold or a paperweight using a circular mold. The mold's shape also determines which of your wedding flowers you can use. Typically, each mold holds a single flower and doesn't include the flower's stem.
How to Preserve Your Wedding Bouquet in Epoxy Resin
To preserve your wedding flowers in epoxy resin, you will need:
- A respirator
- Gloves
- Slow-setting epoxy resin
- Epoxy hardener
- A mold
- Scissors
- Your wedding flowers
By itself, epoxy resin acts and looks like a liquid gel. To harden the gel, you have to activate a chemical reaction using an epoxy hardener. Slow-setting epoxy resin is preferred when working with fresh flowers because the stronger chemical reaction involved in fast-setting epoxy resin may burn the blooms.
Use epoxy resin to preserve your wedding flowers with these steps:
- Mix equal parts epoxy resin and epoxy hardener.
- Pour a base layer into your mold.
- Let the base layer harden following the epoxy resin's instructions. Once the base layer hardens, you'll be able to place the flower on top of it, giving the flower a floating appearance.
- While the first layer is hardening, choose the flower you want to use. Cut the stem off the flower just under the receptacle.
- Place the flower in the middle on top of the first layer.
- Pour another layer of the epoxy resin. Epoxy resin can only harden in small layers, so try pouring in small, even amounts.
- Once the layer is dry, repeat step six until the flower is completely covered.
When using epoxy resin, it's important to wear protective gloves and a respirator to avoid irritating your skin or other complications.
Method 8 — Replant or Repot Your Wedding Flowers
If you have a green thumb, you may be successful at replanting or repotting your wedding flowers. Not all flowers can be replanted. Before considering this flower preservation method, take a look at your flowers to see if any of them have nodes.
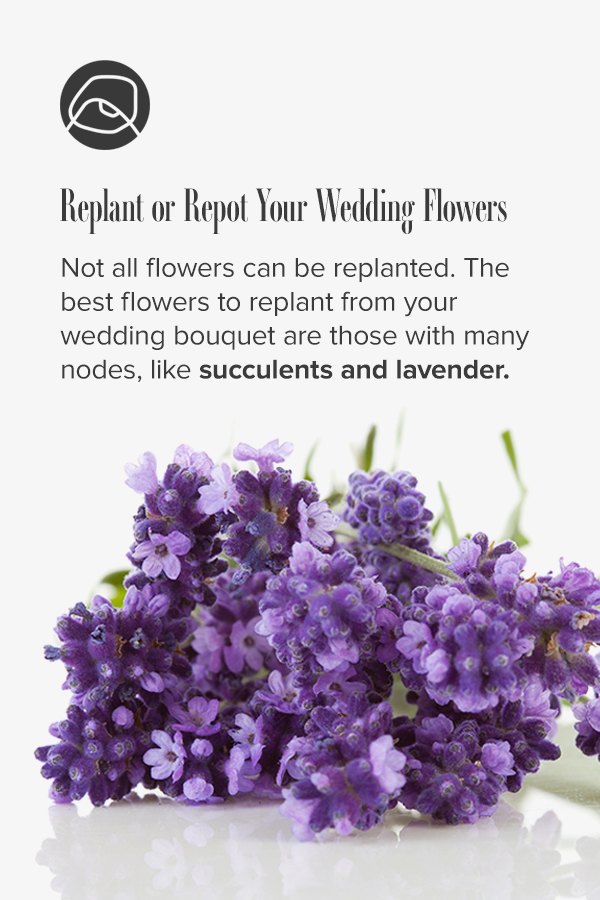
Nodes are located on the stem, usually as a swollen area under a leaf. Nodes are the action point where roots grow — the key to propagation. Some florists purposefully cut off nodes for aesthetic purposes, which is why not every flower in your bouquet can be replanted. The best flowers to replant from your wedding bouquet are those with many nodes, like succulents and lavender.
If replanted successfully, your bouquet flower can regenerate and produce blooms for months or years.
How to Replant or Repot Your Wedding Bouquet
To replant your wedding flowers, you will need:
- Wedding flowers with nodes
- Rooting growth hormone
- Scissors
- A pot
- Soilless gardening mix
- A large plastic bag
Replant and preserve your wedding bouquet flowers with the following steps:
- Identify your flower's nodes.
- Cut your flower's stem right below the node. If your flower has multiple nodes, keep around three to four additional nodes on the stem.
- Trim the remaining leaves from the stem.
- Dip the cut end of the stem into the rooting growth hormone.
- Fill a pot with several inches of a soilless gardening mix. Soilless gardening mix has superior air and drainage qualities, which are necessary for propagation.
- Use your finger to poke a hole in the gardening mix. Pushing your stem straight into the soil will disrupt the growth hormone.
- Carefully plant your flower into the gardening mix.
- With your stem planted, place the entire pot into a plastic bag. Propagation requires plenty of moisture, and the plastic bag creates a miniature greenhouse effect.
- Wait for the roots to develop. It may take days or months, depending on the plant. During this time, water the plant when you notice the top layer of the gardening mixture is dry.
Check for roots by gently pulling the stem upwards. If the stem comes out of the soil with ease, continue waiting for the roots to grow. If you see roots shifting or beginning to lift from the gardening mix, the flower is ready to be replanted. Replant your flower into a pot with moist potting soil to continue growing.
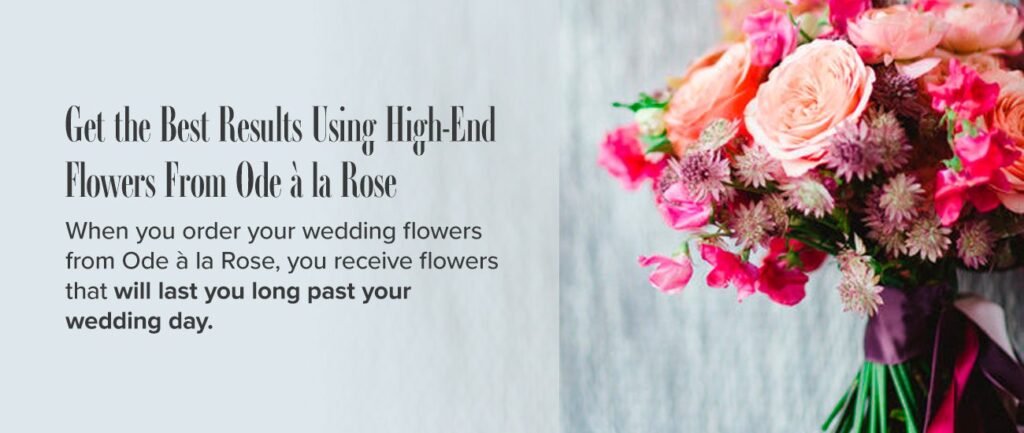
Get the Best Results Using High-End Flowers From Ode à la Rose
A decade ago, co-founders Louis and Oliver explored the florists in New York City in search of the highest quality flowers to no avail. In France, florists value flowers' symbolism — beautiful petals, colors, and stems that accurately reflects your love and appreciation. Since they couldn't find the perfect New York City florist, they became it.
When you order your wedding flowers from Ode à la Rose, you receive flowers that will last you long past your wedding day. Contact us today to learn more about how we can help you preserve your wedding memories for years to come.